
You want no unwanted information to be entered on your device and you want the passcode to be easy to remember; we set them on our devices and change them periodically to prevent hacking by any individual or third-party application or organization.
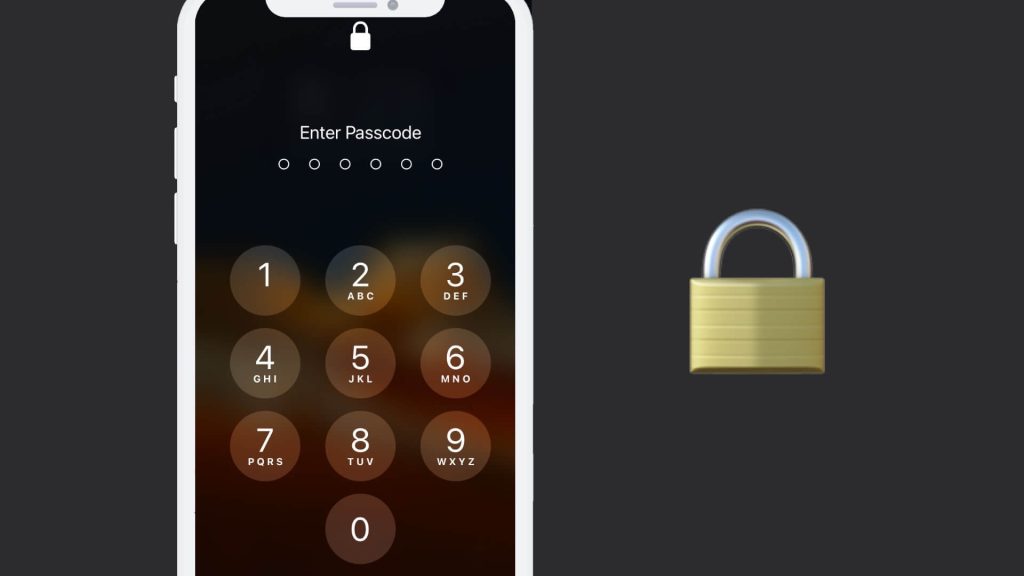
Now, as with all access codes, they are easy to remember only if you write them down on a piece of paper or virtually in a notepad and keep it for safekeeping. However, if this is not the case, one may face the unlikely situation of having to erase all data by blocking its passcode, and then restore it using a backup.
In this article, we will tell you exactly how to unlock your iPhone with some methods if you have forgotten your password. Keep in mind that to restore your device from a backup, you'll need to have one already stored in iCloud or on your system.
Unlock iPhone with forgotten password directly
First, let's see how you can erase your iPhone wirelessly. Before you begin, you'll need to know your Apple ID and password, and your iPhone must be connected to the Internet using Wi-Fi or your mobile data.

If you've entered your passcode incorrectly too many times, your device will be disabled and you'll see an option to erase your iPhone in the bottom right corner of the screen. To do this, tap Erase iPhone.
This will erase all content and settings on your iPhone, including the passcode. If you have a backup saved in iCloud or on your computer, you can restore your content when the process is complete. To continue, tap Erase iPhone again, and then enter your Apple ID password when prompted.
Then the process of erasing your iPhone will begin. This may take a few minutes. This may take a bit of time. Once it has been erased, the Hello screen will appear and you can follow the steps to set up your iPhone again.
Use this method if you want a hassle-free and wire-free method of restoring your iPhone.
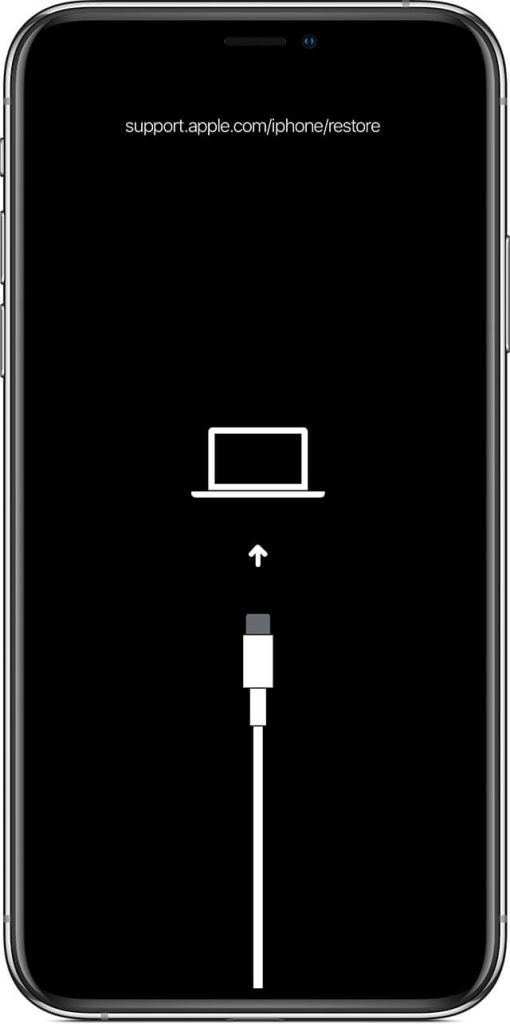
Reset locked iPhone using recovery mode
If you're using iOS 15.1 or earlier, or you can't erase your iPhone wirelessly, you can erase it using recovery mode and a computer.
To use this option, you'll need a Mac or Windows computer and a compatible cable. You'll need to charge your iPhone, and if you have "Find My" enabled, you'll need to make sure you have your Apple ID and password ready.
Here is a step-by-step guide on how you can unlock a locked iPhone if you forget the passcode:
Step 1: Connect your iPhone to PC
The first thing you need to do is to connect your iPhone with the computer/PC. If you have a Mac with macOS Catalina or later, open the Finder. On the other hand, if you are using macOS Mojave or earlier or if you are using a Windows computer, open the iTunes app.
Step 2: Enter recovery mode
Now you need to do some steps on your iPhone. The steps will vary depending on the model of iPhone you have. Once you've entered recovery mode, you can switch to your computer and restore your iPhone using iTunes or the Finder app.
You can follow the instructions given below based on your iPhone model.
If you have an iPhone X or later, second-generation iPhone SE, iPhone 8, or iPhone 8 Plus:
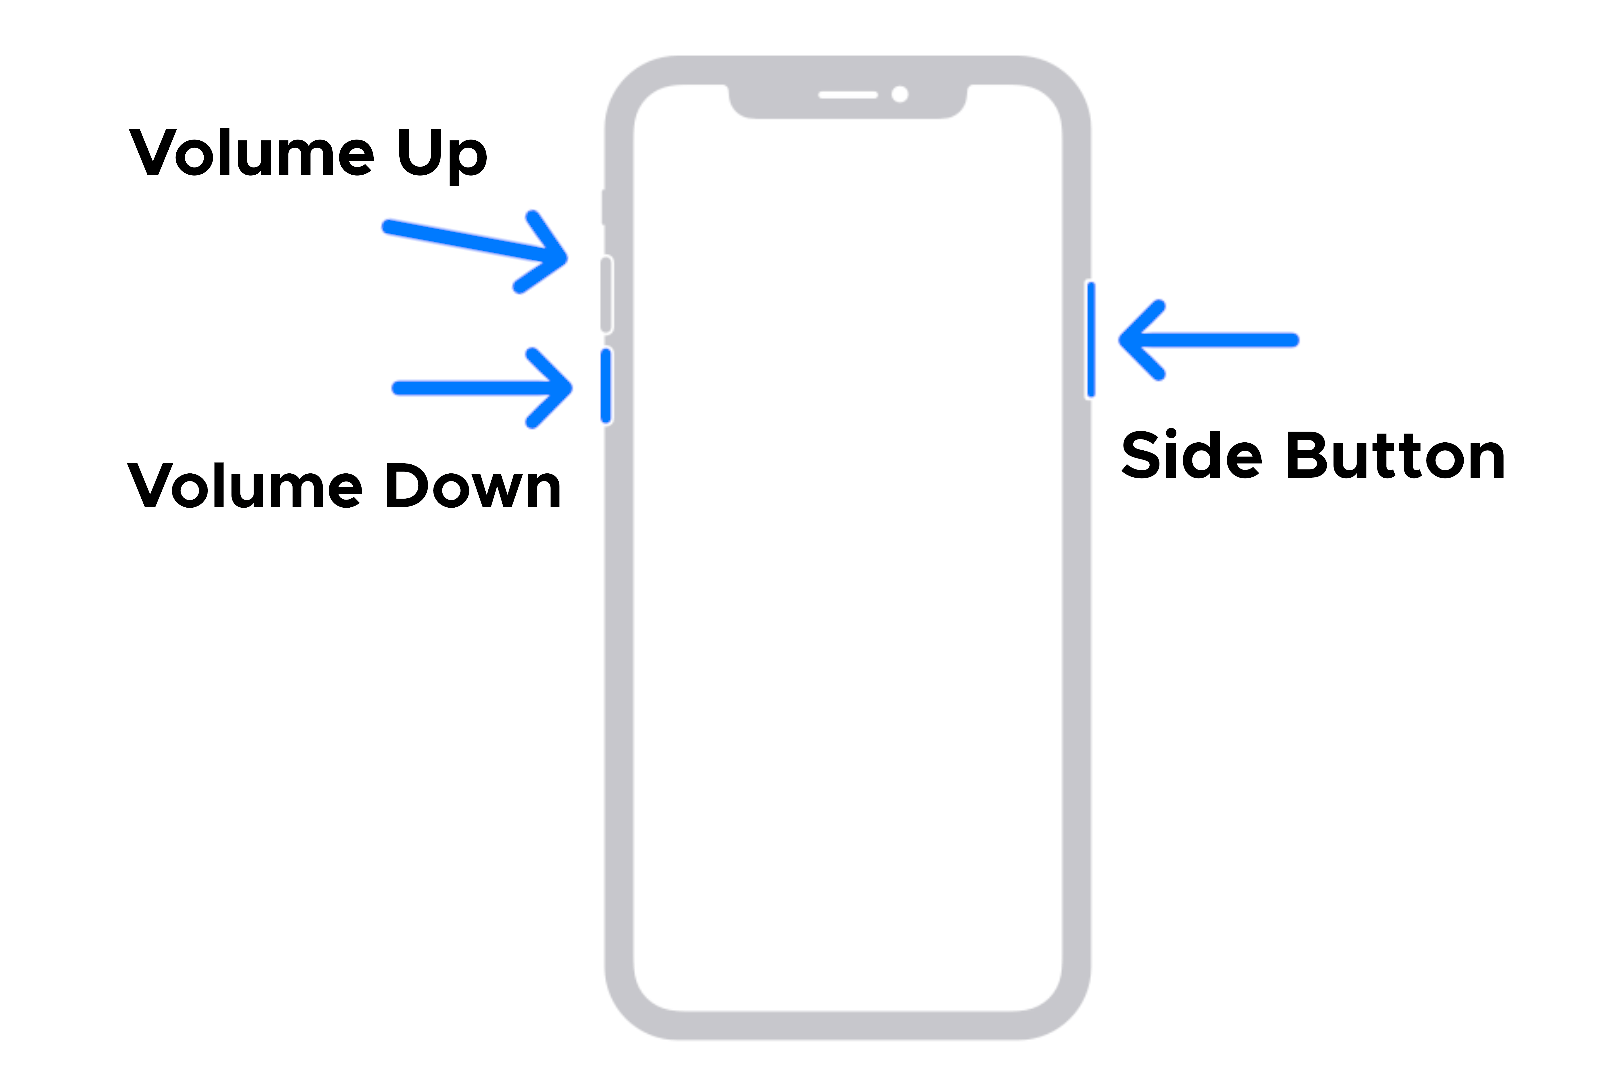
1. Press and hold the Side button and one of the volume buttons until the Power off slider appears. Drag the slider to turn off your device.
2. Now hold the side button and immediately connect your device to your computer while holding the button.
3. Make sure to press and hold the side button until the Recovery Mode screen appears. This could take a moment.
If you have an iPhone 7, iPhone 7 Plus, or seventh-generation iPod touch:
Press and hold the Side Button or Top Button until the Power Off slider appears. Then drag the slider to turn off your device.
Now hold down the volume down button and immediately connect your device to your computer while holding the button.
Make sure to hold down the Volume Down button until the Recovery Mode screen appears. This too would take a moment, but the changes would be seen soon after.
If you have a first generation iPhone SE, iPhone 6s or earlier, or sixth generation or earlier iPod touch:
Press and hold the Side or Top button until the Power off slider appears. Next, drag the slider to turn off your device.
Now hold down the Home button and immediately connect your device to your computer while holding the button.
Make sure to hold down the Home button until the Recovery Mode screen appears, and then follow the instructions on the screen. This will take several minutes, so be a little patient. You will now be able to complete the process using your computer.
Step 3: Recover your iPhone using iTunes
Here are the steps you need to follow to restore your iPhone and get all the data back from your backup:
1. Once you have entered recovery mode successfully, you will see an option to Restore or Update your device in iTunes or Finder. Click Restore to continue. This will erase all content and settings, including the passcode.

2. you have a backup saved on your computer or iCloud, you can restore it after this process is complete. Click Restore and Update when you're ready.
3. Your computer will download and install the latest version of iOS on your iPhone. Please note that if the download takes more than 15 minutes, your device will exit recovery mode. To re-enter recovery mode, you'll need to repeat the iPhone steps outlined in the previous section.
4. Make sure you don't unplug your device while it is being restored. After the restore is complete, your device will reboot successfully.
This is how you can unlock your iPhone if you forget the passcode using recovery mode.
How to recover your iPhone using DFU Restore
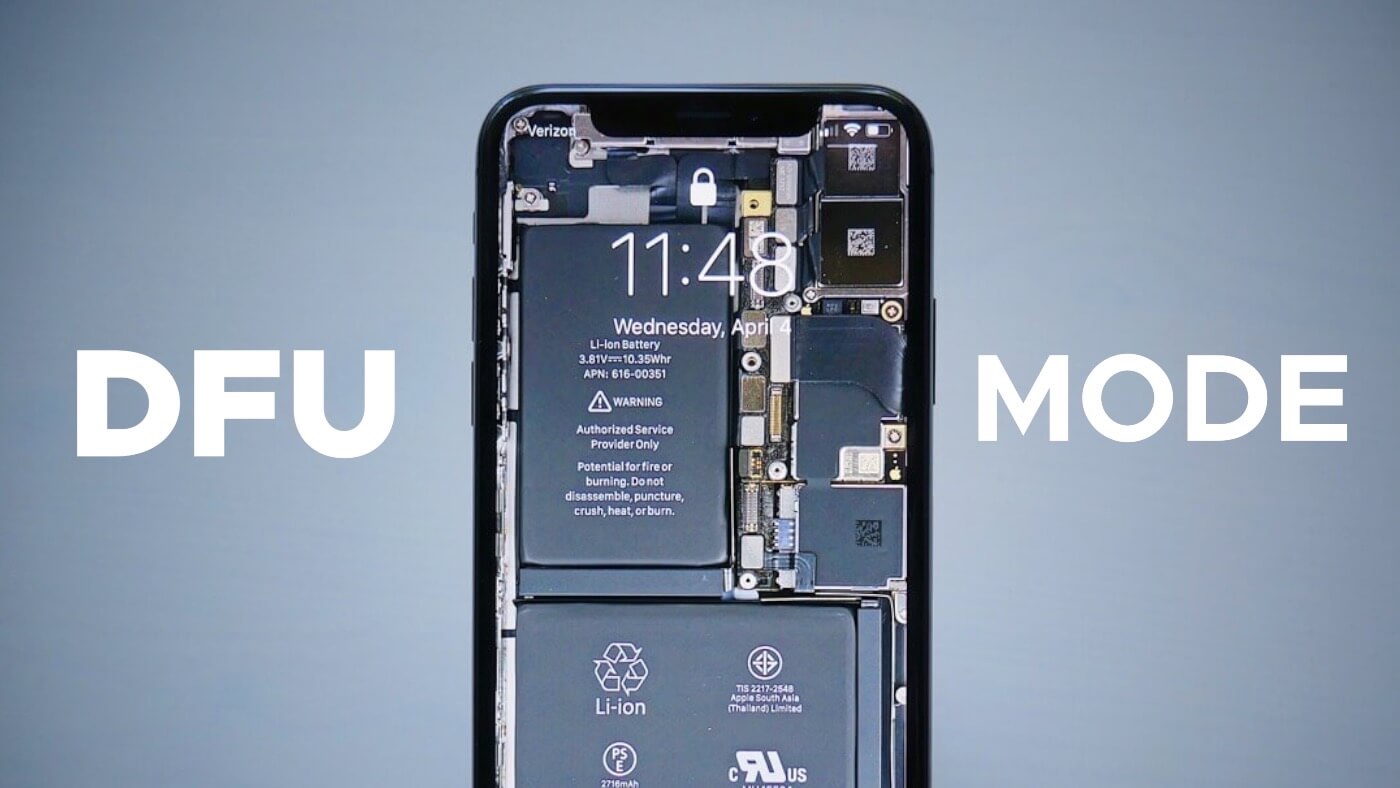
DFU Restore or Device Firmware Update Restore is very similar to the iTunes method, it only differs in the step that iTunes does not automatically load the latest version of the operating system on your phone, but instead allows you to choose the version that you want best with your iPhone. Please note that with the DFU restore method, you will lose all the data on your phone. Therefore, make a backup beforehand. For more information on exactly how to proceed with the DFU method to restore your iPhone, please refer to our previous article on DFU mode.
General FAQ
What happens if your data is not backed up?
If you haven't backed up your data to iCloud or your computer locally, there's unfortunately no way you can get it back using either of these methods. As soon as you restore your iPhone, all your data including photos, videos, contacts, notes and other things will be permanently deleted. Make sure you keep this in mind before trying these methods. If you've backed up your photos and videos to Google Photos or Drive, you'll still be able to access them through your Google account.
What if you don't know your Apple ID password?
In order to successfully unlock your iPhone and recover your iCloud data, you will need to provide your Apple ID credentials for verification purposes. If you also forgot your Apple ID password, you need to reset it first. This can be done from the iforget.apple.com website. Here you need to provide your Apple ID and select the option to reset your password. After that, answer a few security questions and then you will receive an email. Follow the instructions on the screen to complete the reset process.
Will restoring your iPhone void your warranty?
If your iPhone is still under warranty, many of you may have this question in your mind that any reset of your iPhone will void the warranty or not. The answer to that question is very clear: NO. Here you are not jailbreaking the iPhone, but using its own features to recover your locked device.


.jpg)


